
Endings
Color Fear endings guide — every ending, the trigger conditions, and how to unlock them all across randomized playthroughs.
Introduction
Color Fear supports multiple endings, and the community has been hunting down every conclusion since the Steam Next Fest demo. The developer only confirms that endings are tied to your actions, so discovering the full list is one of the game's main replay hooks. Based on official trailers, the store page and player observations, endings appear to be influenced by which cast members survive each night, the channels you choose with the Remote, and special nightly objectives you complete along the way. Because rooms, intruders and TV positions randomize every run, each playthrough can branch toward a different conclusion even if you make similar choices. This category tracks every known ending, the conditions believed to trigger it, and the routes players take to reach each one. Details are marked as speculative where the developer has not confirmed the requirements. If you are aiming for a specific ending, the guides here will help you plan your run around the choices that matter, rather than discovering them through costly trial and error in the dark house.
Ending Overview
| Ending | Type | Believed Trigger | Status |
|---|---|---|---|
| Show Clear | Standard | Survive every night without eliminating key cast | Community-confirmed |
| Channel Zero | Alternate | Use the Remote to switch channels at specific nights | Speculative |
| Empty Studio | Hidden | Remove most cast members with the Hitman | Speculative |
| Final Broadcast | True | Complete all special nightly objectives | Speculative |
Ending Guide Cards
Show Clear
The standard successful run
Channel Zero
Remote-driven alternate ending
Empty Studio
Hitman-driven hollow broadcast
Final Broadcast
True ending for completionists
Core Mechanics
The ending system in Color Fear is designed around the choices you make during the show rather than a single final decision. As you progress through the nights, three parallel tracks seem to feed into the conclusion: the survival track (which nights you complete and how cleanly), the cast track (which characters survive or are removed by the Hitman), and the channel track (which channels you select with the Remote). The game randomizes rooms, intruders and TV positions every run, so even identical choices can lead to different circumstances, but the ending itself appears to respond to your aggregate actions rather than pure luck. This is why players report needing multiple playthroughs: the branching structure rewards experimentation, and no single run can satisfy every track at once. The demo already hints at the system by letting you test early channel and cast decisions, which is why the community has been able to map plausible triggers. Until the release confirms the full tree, treat the endings documented here as informed theories backed by observations.
Advantages
Understanding the ending system lets you play Color Fear with a purpose instead of drifting through the nights. Once you know that cast survival, channel choices and nightly objectives feed into the conclusion, you can plan a run around a specific goal — keeping the cast intact for Show Clear, removing most of them for Empty Studio, or switching channels for Channel Zero. This turns replay from repetitive survival into a deliberate puzzle, where each playthrough tests a different hypothesis. The guides also save you from wasting runs: instead of making random choices and hoping for a new ending, you can follow a documented route and compare results. For achievement hunters, mapping every ending is essential, since the full game will likely tie achievements to each conclusion. Finally, because the ending mechanics are still speculative, exploring them gives you a stake in the community discovery process — your observations can help confirm the triggers for everyone else.
Challenges
The ending system has one major weakness: almost everything is speculative. The developer has only confirmed that multiple endings exist and that they are tied to your actions, so the triggers documented here are theories based on trailers, the store page and player observations. It is entirely possible that some assumed conditions have no effect, or that unlisted requirements matter more than the ones the community has noticed. The randomized nature of the game also makes it hard to verify a trigger — you may repeat the same choices and get different circumstances, muddying the data. Finally, the demo covers only a slice of the full show, so endings reachable in the demo may differ from the full game, and new nights may introduce entirely new branching. Players chasing a specific ending should be prepared for multiple runs, careful note-taking, and the possibility that their target is not yet reachable until the full release.
Frequently Asked Questions
How many endings does Color Fear have?+
Do my choices really matter for the ending?+
Can I see every ending in a single playthrough?+
Quick Tips
Do not hire the Hitman on your first run. Removing cast members early can lock you out of content and steer you toward endings you were not aiming for. Play one clean survival run to learn the show and unlock the baseline Show Clear ending before you start manipulating the roster.
If you are chasing alternate endings, keep a notebook or spreadsheet. Track which nights you changed the channel, which cast members you removed, and which objectives you completed. The community's best theories are built on careful records, and your own data could confirm the trigger for a hidden ending. Careful notes turn guessing into discovery.
Buy the Remote and Hitman in the same run only when you are ready to experiment. Both tools branch the show in different directions, and using them together gives you the widest coverage of the ending tree — but it also makes it harder to attribute the result to any single choice. For clean data, test one variable per run.
Featured

Color Fear Endings Wiki: Every Choice and Finale Outcome
Use this Color Fear endings wiki as your checklist for every nightly choice, the final show outcomes, and the secret unlock requirements to replay.

Color Fear All Endings: Total Count, Paths, and Run Effects
Catalog every Color Fear all endings entry with the total conclusion count, the good and bad finale paths, and how randomized runs make them tricky.

Color Fear Alternate Ending: Secret Route and Remote Choices
Explore the Color Fear alternate ending with a spoiler walkthrough of which nightly choices, Remote channels, and eliminations pivot the finale.
All Articles
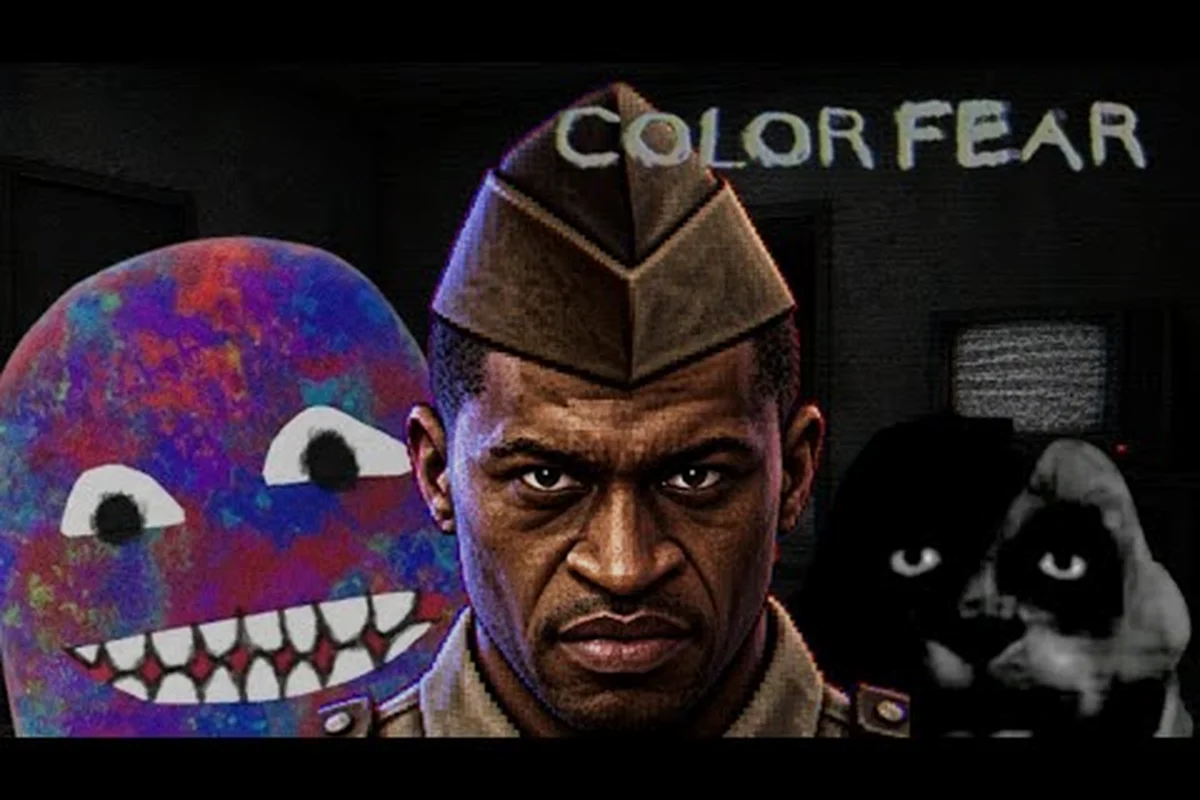
Color Fear Hitman Ending: Walkthrough, Cost, and Verdict
Trigger the Color Fear Hitman ending with a full walkthrough covering the Night Shop cost, the cast member you remove, and whether it is worth chasing.
Color Fear How to Get All Endings: Step-by-Step Route
Unlock every finale by learning how to get all endings in Color Fear with a step-by-step path covering good, bad, and secret triggers.
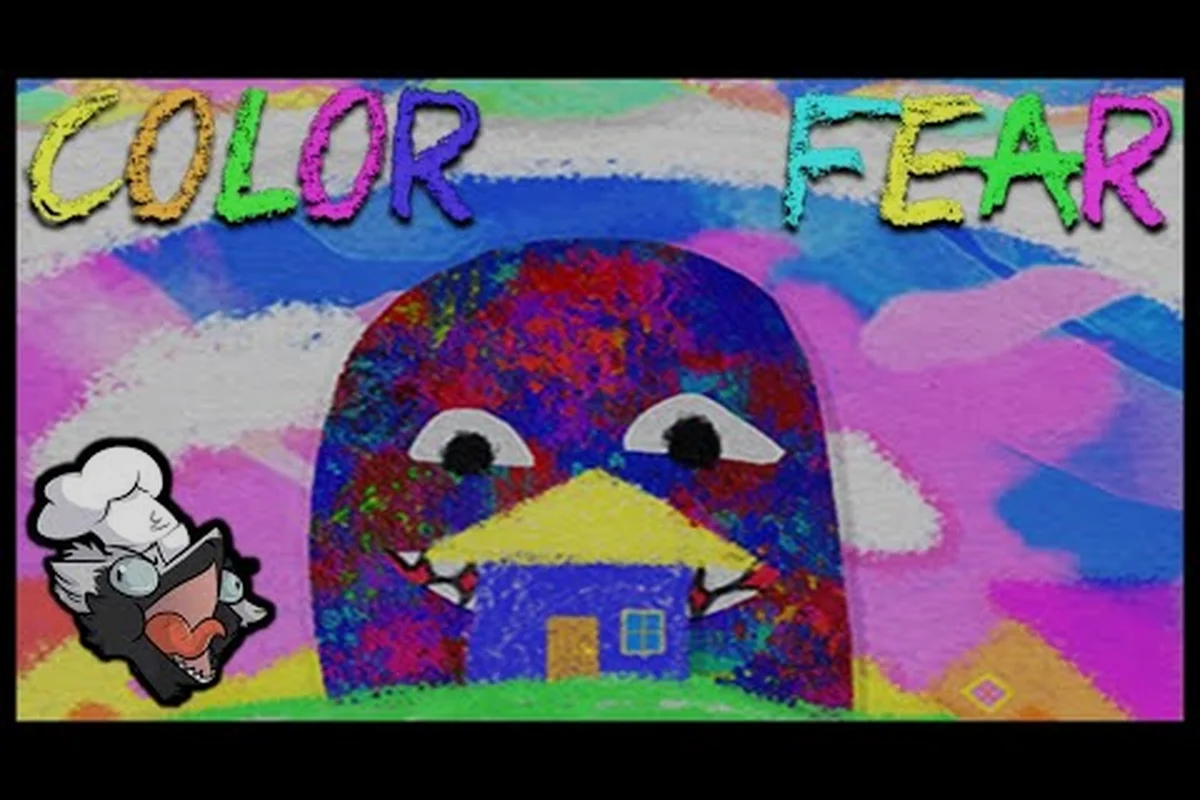
Color Fear Multiple Endings: Choices, True Route, and Finale
Find out how Color Fear multiple endings branch on your nightly choices, what the true route needs, and how to reach the hidden finale safely.

Color Fear Ending Conditions: Cast Fates, Remote, and Triggers
Learn every Color Fear ending condition, from cast member fates and the Remote channel changes to the Skip-a-Night triggers that reshape the finale.